Every now and then I look at my stash and wonder what would happen if I'd get injured or sick and couldn't do any sewing or knitting or crocheting anymore ... anyways my friend's granny is a lovely 85 year old lady who always has a smile and some jelly beans in her kitchen for any kids that might drop by. She won awards for her quilts, knitted and crocheted beautiful pieces for all her grand and great-grand children, but it all got harder in the last few years. One little granny square knee rug never got finished, so I grabbed some yarn that she had given me a couple of years ago and here it is:
I blocked it with steam as it is acrylic and I was petrified the whole time that I would ruin it, but I didn't accidentally drop the iron and melt the whole thing, so yeay me. It's not truly square, but much better then before, so I call this a win.
Hopefully she'll like it :-)
Showing posts with label crochet. Show all posts
Tuesday, 15 April 2014
Friday, 24 August 2012
Blanket 2012
I make exactly one blanket per year. No more. Regardless of how much I might like another throw then and there or how it would be a great present for xyz. It just takes up too much time and space and I lose interest halfway through and I don't like having lots of unfinished WIPs around the place. Last year it was a blanket for my son. It took months and months, but he loved it.
This year is my Dad's 60th, so I thought it would be nice to make him one for the cold winters in Germany. When I told him about my son's blanket his reply was along the lines of 'well, are you sure you want to do that for the rest of your life' (yes Dad, that is what I like to do when I am not doing my main job i.e looking after your grandchildren and no, I don't feel like I am wasting my life), but I am hoping that he might be more positive towards his own.
It's crochet in a shell stitch, lots and lots of little shells. In the colours that remind me of his home. The ivory for the snow, the brown for the house, the blue for the lake, the green for the forest, it all reminds me of home.
For some reason, when I looked at the finished shell stitch portion, I thought it was too small (to fit a single bed) and it needed a border. It now measures 145cm (57in) x 210cm (83in) (and weight more then 3.5 kg) and is perhaps a little larger then anticipated :-)
I have sent it off today and hopefully it'll arrive before Sept. 9th. I am somewhat glad it is finished.
Off to fabric-a-brac tomorrow though and I am super excited :-)
This year is my Dad's 60th, so I thought it would be nice to make him one for the cold winters in Germany. When I told him about my son's blanket his reply was along the lines of 'well, are you sure you want to do that for the rest of your life' (yes Dad, that is what I like to do when I am not doing my main job i.e looking after your grandchildren and no, I don't feel like I am wasting my life), but I am hoping that he might be more positive towards his own.
It's crochet in a shell stitch, lots and lots of little shells. In the colours that remind me of his home. The ivory for the snow, the brown for the house, the blue for the lake, the green for the forest, it all reminds me of home.
For some reason, when I looked at the finished shell stitch portion, I thought it was too small (to fit a single bed) and it needed a border. It now measures 145cm (57in) x 210cm (83in) (and weight more then 3.5 kg) and is perhaps a little larger then anticipated :-)
I have sent it off today and hopefully it'll arrive before Sept. 9th. I am somewhat glad it is finished.
Off to fabric-a-brac tomorrow though and I am super excited :-)
Tuesday, 26 June 2012
Happiness in Crochet - little flower tutorial
I absolutely love these little flowers, they are fairly simple, but they are fiddly and need good light. The pattern and instructions can be found here, but that link will then send you on to a Japanese website and it takes some searching to find it there. I would have linked it directly, but it does occasionally go offline (like today), so I thought I share this little photo tutorial :-)
It doesn't require a lot of yarn, but I think these work better with a clear cut yarn rather then a fuzzy wooly one (sorry for the lack of technical terms there).
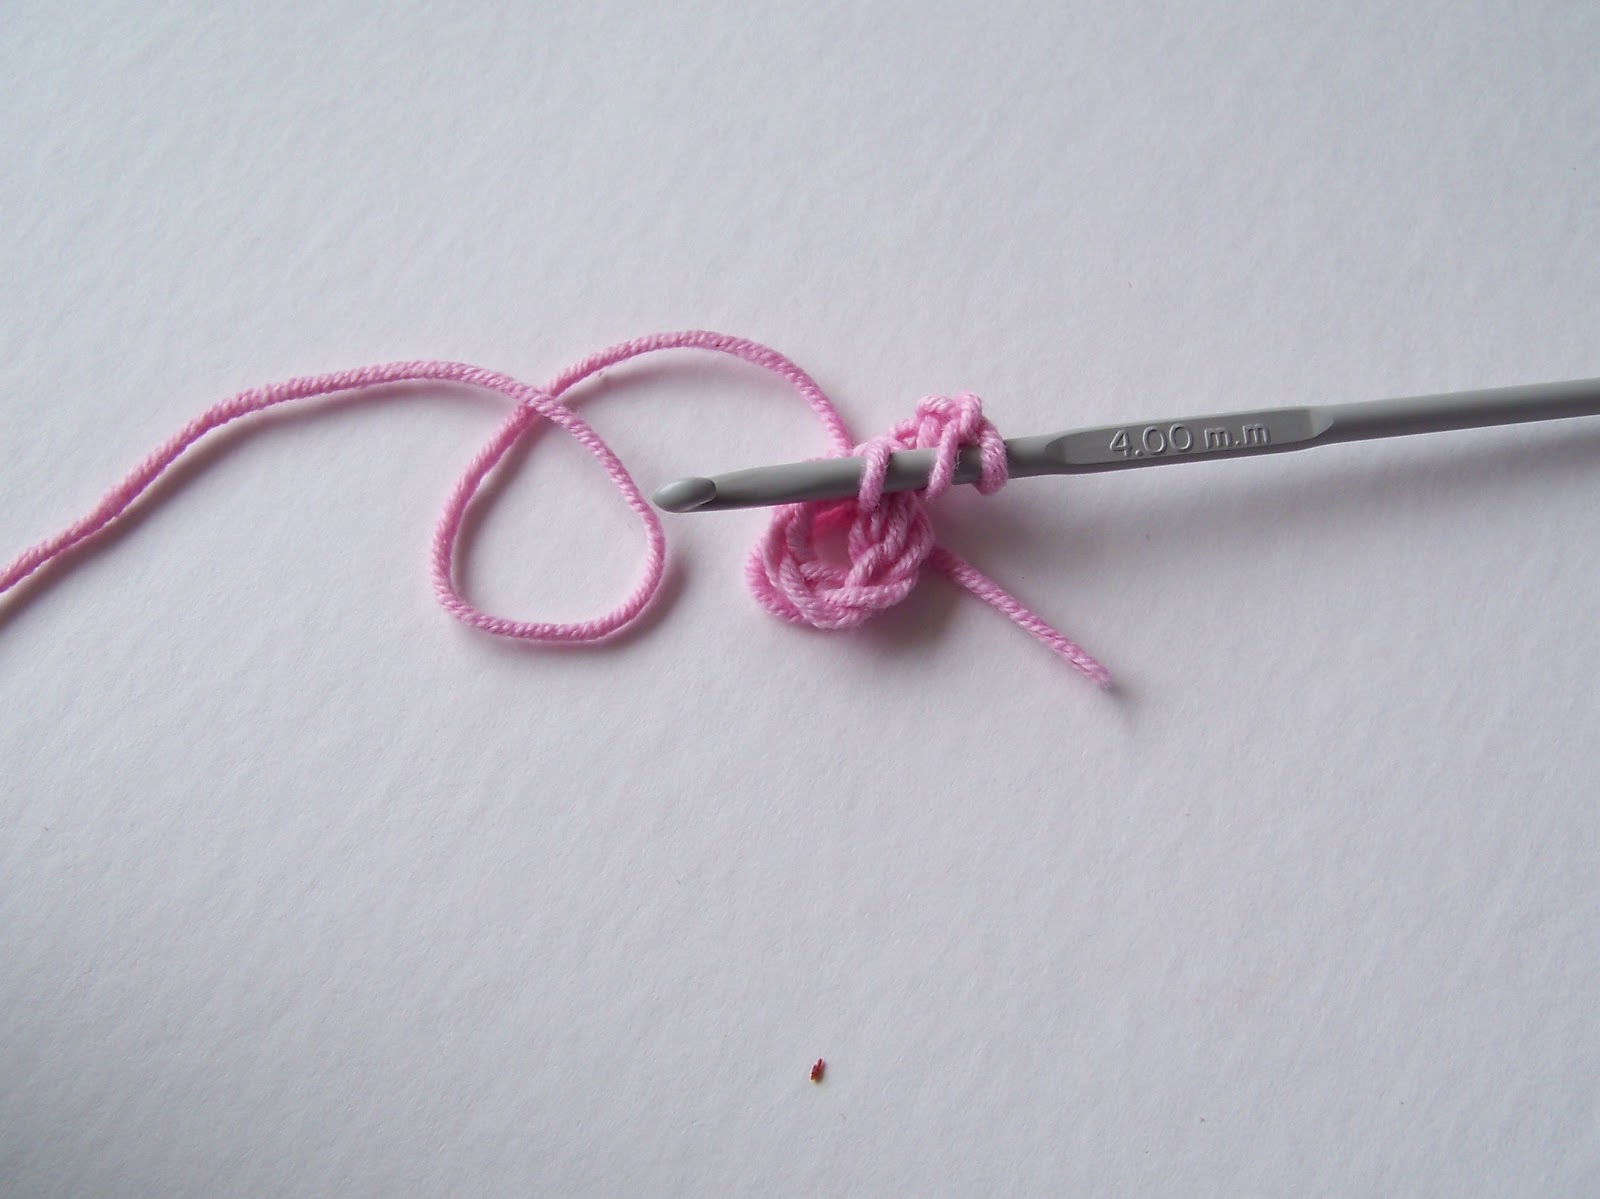
1, make a slip knot leaving about 8-10 cm of 'tail'
2, chain 5
3, attach the last stitch to the first one with a slip stitch (pull the yarn through both stitches in one go), so it forms a nice little circle (with 5 chains - one for each petal of the flower)
4, chain 3
5, make a double crochet (in the UK that would be a trebble I believe) into the circle
6, chain 3
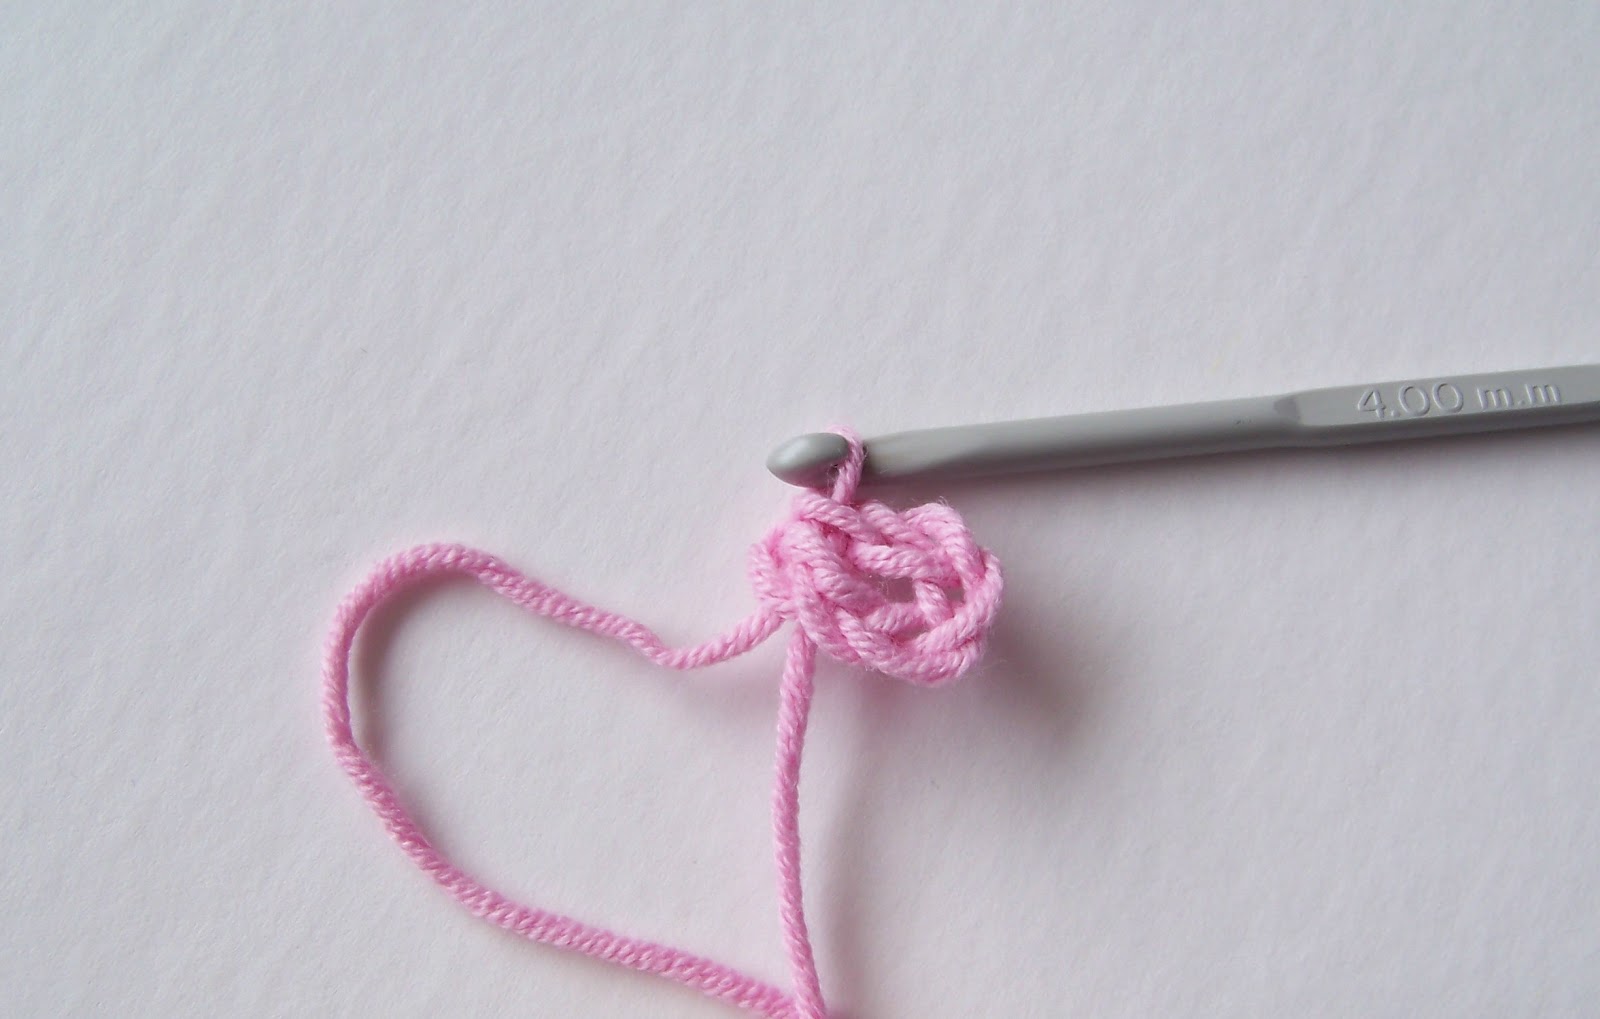
7, attach the chain with a slip stitch to the chain of the circle. You might need to wriggle the chain and the double crochet to the side a bit so the the chain stitch where the petal attached becomes visible - this is the afore mentioned fiddly bit. I found it helped if I used my left hand (thumb and pointer) to 'hold' the space whilst crochting the petal with my right hand. Sadly I couldn't photograph this bit, because I was out of hands :-)
8, this is one petal finished. You now repeat these steps another 4 times until you have 5 petals in total. Once you attached the last petal, you do another (one) chain stitch then cut the yarn leaving a tail of about 8-10 cm and pull it through the last chain. The first 'tail' should be right underneath the second tail so I usually double knotted them, because that tightened up the flower ring a little and made it prettier.
9, To attach a second flower:
you finish the first petal and start on the second one by chaining 3 and making one double crochet into the circle. Then you remove the needle and put it through the top of a double crochet of the flower you want to attach it to.
Next you simply pull the loop through.
Then you chain 3 and attach the chain to the circle. After that you continue with the rest of the petals. As my scarf had 2 rows I also attached a flower to the 3rd petal.
Here are the two flowers finished with the tails knotted
To finish off: usually I just weave the yarn in with my crochet hook, but I thought it would look prettier if I use a yarn needle (they are the big ones that don't have a sharp point) and thus reinforce the circle as well. So, with one end I went around clockwise and with the other end I went around anti-clockwise.
add a few more flowers in lots of different colours and you end up with a very cheerful scarf.
It doesn't require a lot of yarn, but I think these work better with a clear cut yarn rather then a fuzzy wooly one (sorry for the lack of technical terms there).
1, make a slip knot leaving about 8-10 cm of 'tail'
2, chain 5
3, attach the last stitch to the first one with a slip stitch (pull the yarn through both stitches in one go), so it forms a nice little circle (with 5 chains - one for each petal of the flower)
4, chain 3
5, make a double crochet (in the UK that would be a trebble I believe) into the circle
7, attach the chain with a slip stitch to the chain of the circle. You might need to wriggle the chain and the double crochet to the side a bit so the the chain stitch where the petal attached becomes visible - this is the afore mentioned fiddly bit. I found it helped if I used my left hand (thumb and pointer) to 'hold' the space whilst crochting the petal with my right hand. Sadly I couldn't photograph this bit, because I was out of hands :-)
8, this is one petal finished. You now repeat these steps another 4 times until you have 5 petals in total. Once you attached the last petal, you do another (one) chain stitch then cut the yarn leaving a tail of about 8-10 cm and pull it through the last chain. The first 'tail' should be right underneath the second tail so I usually double knotted them, because that tightened up the flower ring a little and made it prettier.
9, To attach a second flower:
you finish the first petal and start on the second one by chaining 3 and making one double crochet into the circle. Then you remove the needle and put it through the top of a double crochet of the flower you want to attach it to.
Next you simply pull the loop through.
Then you chain 3 and attach the chain to the circle. After that you continue with the rest of the petals. As my scarf had 2 rows I also attached a flower to the 3rd petal.
Here are the two flowers finished with the tails knotted
To finish off: usually I just weave the yarn in with my crochet hook, but I thought it would look prettier if I use a yarn needle (they are the big ones that don't have a sharp point) and thus reinforce the circle as well. So, with one end I went around clockwise and with the other end I went around anti-clockwise.
I think it tightened it up rather nicely in the end.
Happiness in Crochet :-)
Saturday, 7 April 2012
other projects (with stripes and without)
I have to finish the stripey blanket for my Dad's 60th in September. The body is done in this lovely shell stitch, but the sides still need finishing. It is a really thick and soft acrylic yarn, perfect for the cold German winters.
Out of the leftovers I want to knit a green and dark blue stripey Jumper for my son. There is also the crochet Japanese flower scarf for my daughter and a crochet cardigan.
So, I hope to finish the blanket in April and then start of the Japanese flowers. I usually have a one project at the time policy (I am a terrible procrastinator and whilst I love starting things I just won't finish otherwise), but the blanket is really too heavy to take with me to the various activities of my children so perhaps I will get started on the Japanese flowers this month as well.
Out of the leftovers I want to knit a green and dark blue stripey Jumper for my son. There is also the crochet Japanese flower scarf for my daughter and a crochet cardigan.
So, I hope to finish the blanket in April and then start of the Japanese flowers. I usually have a one project at the time policy (I am a terrible procrastinator and whilst I love starting things I just won't finish otherwise), but the blanket is really too heavy to take with me to the various activities of my children so perhaps I will get started on the Japanese flowers this month as well.
Thursday, 22 March 2012
Japanese Flowers
can I just say that I never cease to be amazed at the beauty of the crochet Japanese Flower. The are whimsical and sweet and the possibilities are endless. I have been itching to try them, but always thought they were too complicated. However Revlie has this lovely Tutorial to get anyone started and Sue (who made those beautiful pink flowers in the picture underneath) explains the variation that I like the most in great detail here, so no more encouragement was needed :-)
I have bought the yarn - I know I know ... breaking my 'no more buying yarn' fasting for Lent -, but it was so beautiful and there was no guarantee that it would still be available in those colours after Easter. It is a cotton/acrylic mix thus giving it the clean edge I think is necessary for this kind of crocheting.
I have been looking for a project and the coming winter provided me with the perfect excuse - a scarf that consists of 2 rows of flowers for my little daughter. I initially only bought the purples and white, but then went back and got the pinks and aqua as well. It just increases the amount of different combinations and I can't wait to get started.
I have bought the yarn - I know I know ... breaking my 'no more buying yarn' fasting for Lent -, but it was so beautiful and there was no guarantee that it would still be available in those colours after Easter. It is a cotton/acrylic mix thus giving it the clean edge I think is necessary for this kind of crocheting.
I have been looking for a project and the coming winter provided me with the perfect excuse - a scarf that consists of 2 rows of flowers for my little daughter. I initially only bought the purples and white, but then went back and got the pinks and aqua as well. It just increases the amount of different combinations and I can't wait to get started.
Monday, 19 March 2012
the blanket that started it all
Over a year ago I had found some interesting looking yarn and I was at a loss of what to do with it. There are only so many scarfs you need in Brisbane and my son had wondered whether I could make him a big cuddly blanket. Well, it certainly is big, in fact it's so big, I had to lay it on our queen-size bed to get it all in, but he LOVES it.
I started with the panel in the middle in double crochet ( UK treble I believe). Even after all this time, I still love all the different hues of colour that are in the centre. I do have 4 balls of that yarn left in blue that I am trying to think what I could do with it that would do it justice. Hmm, maybe a scarf :-)
After the panel was finished, I added the black stripes on each side and then on top and bottom. In order to break up the solid black I wanted to try a treble V-stitch or rather a W-stitch, but I found that the holes between each stitch were too large. I ended up adding an extra straight treble in between each stitch and I think it turned out very nicely.
After searching high and low for a soft green yarn that would go with the shades of the centre panel, I finished everything off by adding a mostly green border around it all. It took a while, mostly because I took big breaks in between, but I did complete it by Christmas, so all was well. My son is thrilled with it and says 'it's like a big hug from me whenever he needs it in the middle of the night'.
I started with the panel in the middle in double crochet ( UK treble I believe). Even after all this time, I still love all the different hues of colour that are in the centre. I do have 4 balls of that yarn left in blue that I am trying to think what I could do with it that would do it justice. Hmm, maybe a scarf :-)
After the panel was finished, I added the black stripes on each side and then on top and bottom. In order to break up the solid black I wanted to try a treble V-stitch or rather a W-stitch, but I found that the holes between each stitch were too large. I ended up adding an extra straight treble in between each stitch and I think it turned out very nicely.
After searching high and low for a soft green yarn that would go with the shades of the centre panel, I finished everything off by adding a mostly green border around it all. It took a while, mostly because I took big breaks in between, but I did complete it by Christmas, so all was well. My son is thrilled with it and says 'it's like a big hug from me whenever he needs it in the middle of the night'.
Subscribe to:
Posts (Atom)